I set up my crafting corner to share what I have been up to and then left it hanging. I've been busy...Working on baby gifts, mother's day gifts, outfits for my niece, and had a trip out of town. But I plan to post some projects soon.
Some of them project will be recent projects while others will be older projects that I want to not only document for myself but also share with others so you can learn from my mistakes!
Sunday, May 24, 2015

Tuesday, May 12, 2015
Photos on Wood for $4 each

Creating wood canvases is something that had been on my radar after seeing two different ideas on Pinterest... Here and Here on how to mount a photo onto wood and I wanted to give it a try. After making first one for me and Colin it was decided to make more for presents.

What will you need for this project:
I made 12x16 boards... When I headed to Lowe's I picked out a 4 ft x 8 ft piece of plywood. The guys at Lowe's cut the board down for me which worked perfectly into 24 - 12x16 pieces! Which means no wasted board! Price wise I think the piece of plywood was around 10 give or take a dollar or two either way but we will say each board cost .50 each!

I got this photo printed at SAM's for $2.96 for the 12x16 photo!

You will need Mod Podge glue... I got this bottle at Michael's and used a coupon so it only cost me about $5. For pricing... we will say you will need about $.25 worth of glue (at my discounted coupon used price!)

You will also need paint for the edges of the boards. Michael's sells these guys for $1-2 a piece depending on which type you buy. For pricing purposes we shall say $.10 for each photo!
Almost forgot sandpaper in my pricing list... I bought a pack of sandpaper for about $4. The pack had about 5 sheets and I used less than 1/4 of sheet on each board! So $.15 on sandpaper for the project!

Now for your instructions! Note --- You will need to allow time for this project because there are several times you have to wait for glue or paint to dry!
Sand down the edges of the boards.

Paint the edges of the boards. For this photo I used gray... But I also did some in blue and brown... Just get a color that matches your photo. You can also paint one side of the board (the back) but I decided not to waste the time or paint. Make sure you get a little paint on the edge you will put the photo, just in case you photo is short...

After your paint is dry it is time to glue... Put your mod podge glue in a nice thick layer on the entire board... Since it would take forever dipping my sponge brush into the glue container I just pored out the glue...

Spread the glue until the entire board is covered...

Next, place the photo on the board and smooth flat. I trimmed the photo down, prior to gluing it down, by cutting the white edge left by the photo processing, but don't worry the photo doesn't have to fit the board perfectly.

Once the glue is dry, sand the edges of the photo down...

Your edges will look like this after you sand the photo down...

Now place another layer of glue on top of the photos and make sure you also cover the edges of the photo as well!

Let dry and hang on wall!

Here is round one of Christmas presents that were made one year!
(The cheapest place I could find to have these made was almost $30 plus shipping if I was to order them.)
Price breakdown for making it yourself....
Board - .50
Photo - 3.00
Glue - .25
Paint - .10
Sand paper - .15
Grand total - $4 and some time to make some great homemade presents that were a huge hit for family and friends!
Tuesday, May 5, 2015
Recovering a card table

I was wanting a card table to have around the house. So I started looking at the stores to see how much a new card table would run me. Then I remembered I had an old card table at my parents house. I forgot the card table was a little beat up.

I wanted to see if there was a way to recover the table and sure enough pinterest helped me out with these two options. One lady used a hot glue gun and the other lady used a staple gun.
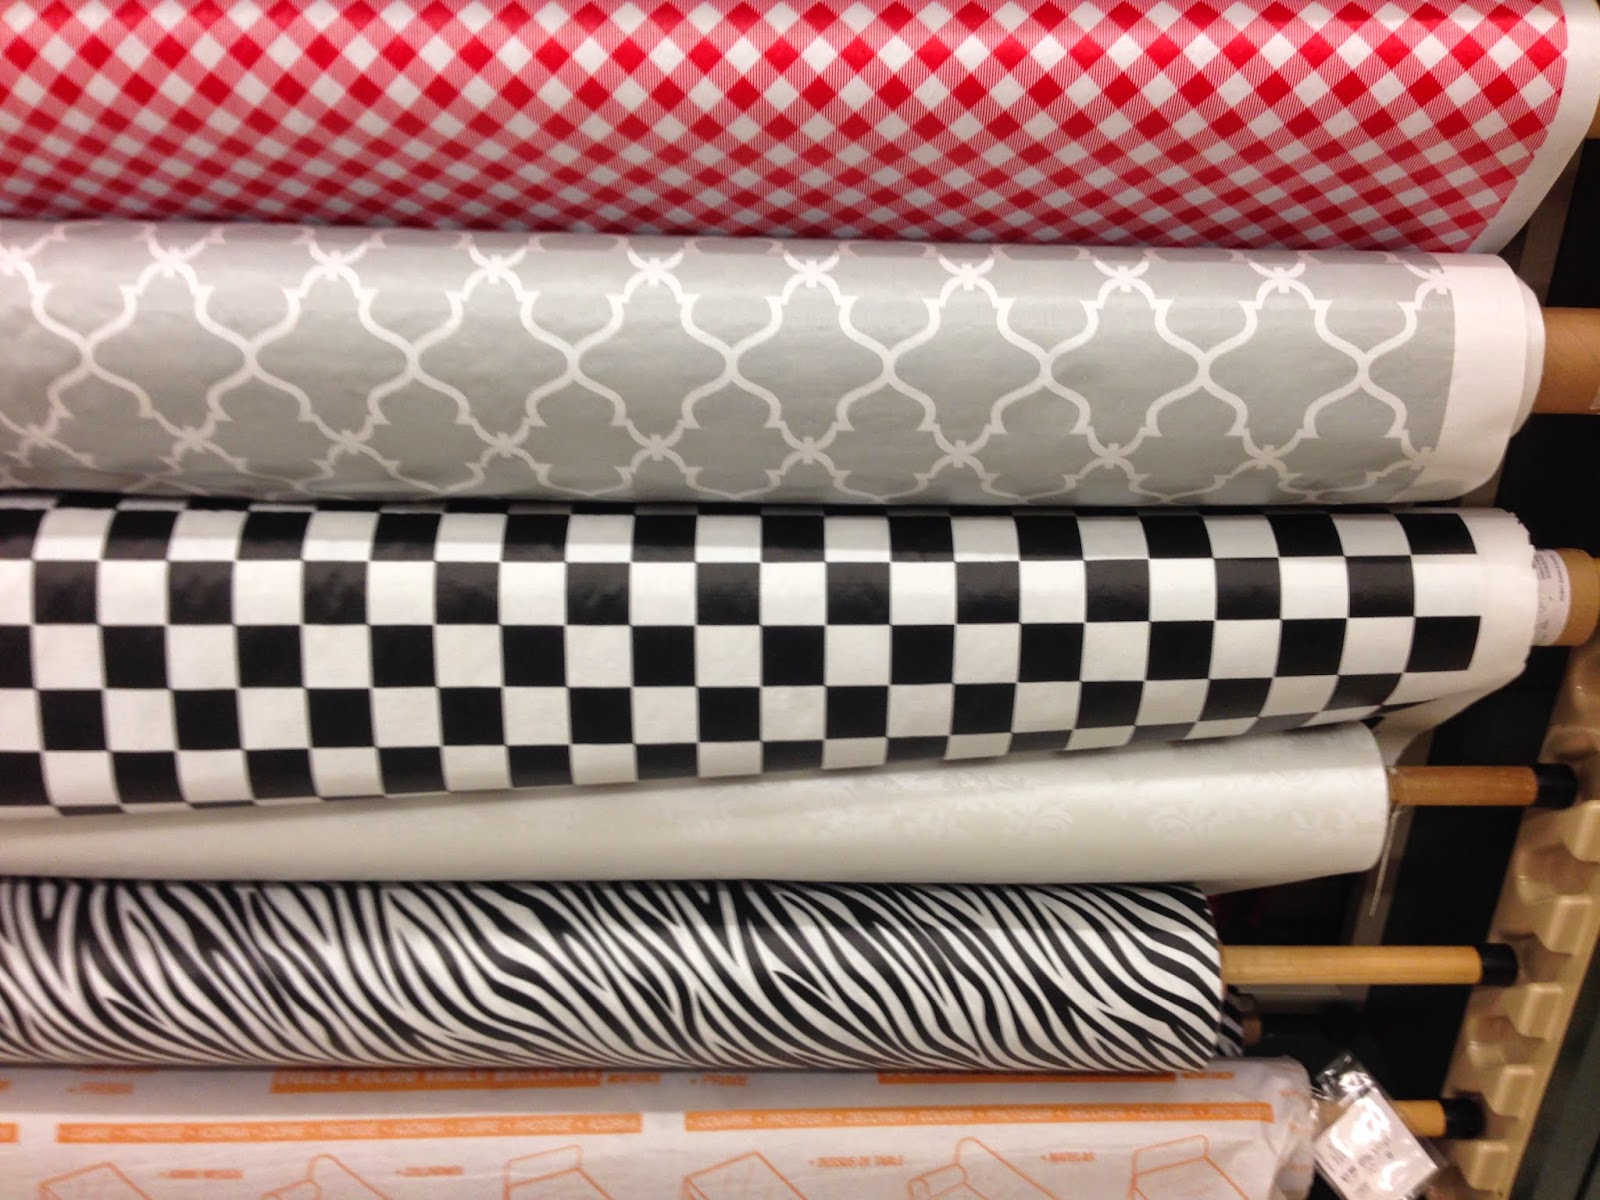
I headed to Hobby Lobby to collect my needed supplies....
Table Covering (this could be a table cloth or material cut) - I found these table cloth materials, see the backing had the soft cushion. It was $4.99 at HL, but I got it on sale for $3.29!!!
Spray Paint for frame - this is optional. I wanted my frame to match the new top
Hot Glue Gun or Staple Gun & Staples - I used a Hot Glue Gun because I didn't want the expense of buying a staple gun
Screw Driver - I used a phillips to remove the screws from the table and a flat one to help pop the staples out from the old covering

I picked the grey and white material, and see the backing.

Remove the top by flipping the table upside down and removing the screws. Somehow I managed not to get a picture of this. Probably because I couldn't remove all the screws from the table and had to go get my neighbors electric screw driver.

Once the top is removed spray your frame. I ended up spraying mine a few times to make sure it was coated. In between the different coats of paint I continued on with the project. Don't forget to not only spray the frame standing on its feet but also upside down to ensure you cover the bottom of the frame and feet!

Remove old top and all the staples. Some of the staples will come out as you pull the top off but I also used a small flat head screw driver to finish popping them all off the top.

You will be left with a blank canvas.

Lay down the new top and pull it flat. Cut the edges down to where it can be pulled over. I glued one edge at a time, leaving the corners undone, cut the next edge, then glue it. This way I was able to tug at it and not have cut off too much.

I used the hot glue gun and only glued small areas at a time.

I would hold the edge down for a few minutes then move on to the next area.
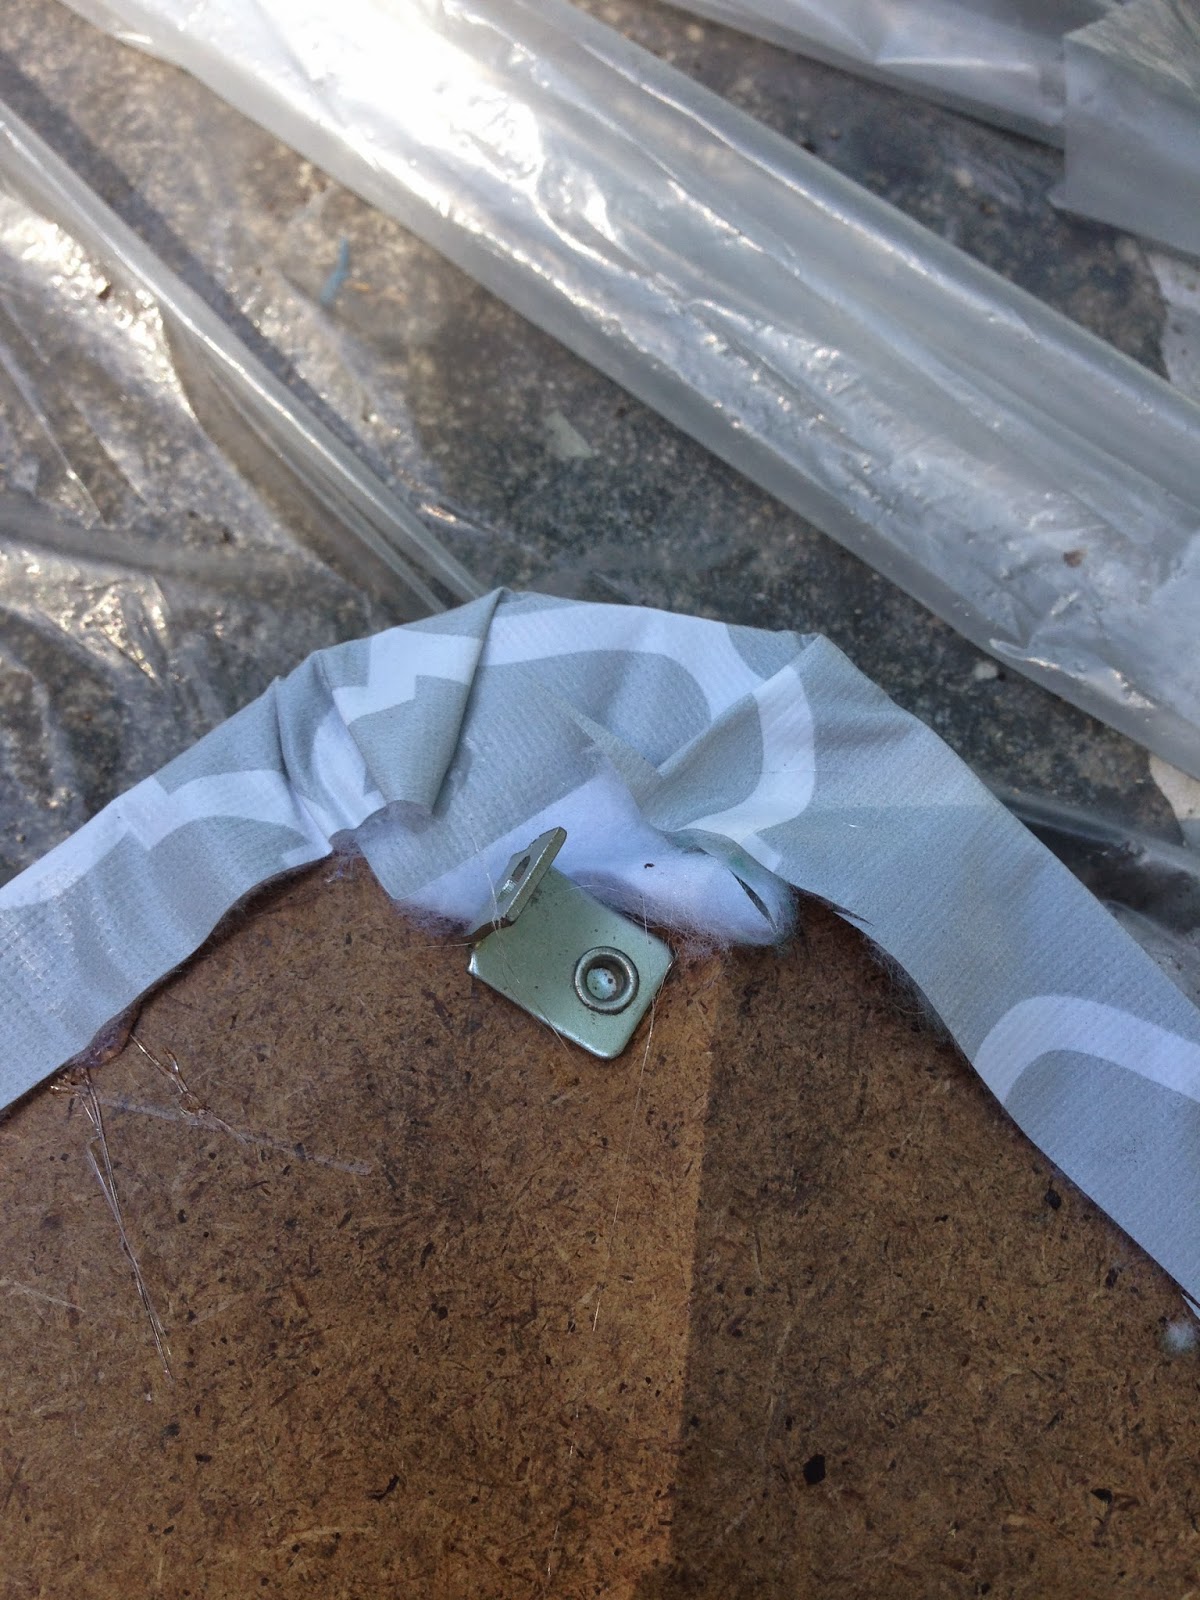
The corners were a little tricky. I folded down the corner and glued it. Then folded the areas left standing down. Sounds complicated but it wasn't.

And there you have it. A brand new cute top!

Screw the newly covered top onto the newly painted frame and there you have it. A cute custom redone card table for $5 and less than 2 hours of my time!!
Tuesday, April 28, 2015
Welcome to my Corner!
Welcome to my little Corner!
I wanted a place to document all my various crafting projects (sewing, quilting, painting, monogramming, embroidering, wreath making, DIY decorating, picture stuff, cake and cookie decorating, and the list goes on...) that allows me to go into more detail then a photo on Instagram or post on Facebook.
Also, by having my own little crafting corner I don't blow up my other blogs with the crafting details.
For the most part, my little crafting corner is a journal of sorts for me to remember and refer to but if you want to join the crafting ride feel free to read and craft along with me.
Initially some of the projects will go back a little ways then the post will go to mostly current projects. So if I start referring to Christmas in July, don't worry I'm not crazy, just catching up OR planning ahead!
I wanted a place to document all my various crafting projects (sewing, quilting, painting, monogramming, embroidering, wreath making, DIY decorating, picture stuff, cake and cookie decorating, and the list goes on...) that allows me to go into more detail then a photo on Instagram or post on Facebook.
Also, by having my own little crafting corner I don't blow up my other blogs with the crafting details.
For the most part, my little crafting corner is a journal of sorts for me to remember and refer to but if you want to join the crafting ride feel free to read and craft along with me.
Initially some of the projects will go back a little ways then the post will go to mostly current projects. So if I start referring to Christmas in July, don't worry I'm not crazy, just catching up OR planning ahead!
Subscribe to:
Posts (Atom)